Whether you are refurbishing an older property or renovating your own home, you might consider plastering as a task best left to the professionals. But with the correct tools and information, the first-timer could complete it. It is important to remember at the outset that plastering is a skill that improves with time; accept that your plastering will not be of the same standard as a time served tradesperson. With your expectations at an appropriate level, you can prepare to tackle plastering by equipping yourself with the correct set of tools.
The Right Tools for The Job
Investing in high-quality tools is an excellent choice as they give you a better chance of completing the job well; there is also a healthy second-hand market for good tools, so you may be able to claw back some funds after completion. If purchasing the tools isn’t something you want to do, then a tool hire company is the place for you; they will have all the specific tools and may even have a plastering machine to mix your plaster correctly. The list of tools crucial to plastering are listed below –
- Plastering trowel – choose the one you are comfortable with; a stainless-steel option with an evenly weighted handle is the best choice.
- Hawk Board – this tool holds the wet plaster both wooden and plastic options are available.
- Bucket trowel – this tool scoops up plaster and moves it from bucket to hawk board.
- Good quality paintbrush – for keeping both your edges and the plaster wet.
- Power mixer – much more manageable than mixing by hand and more suitable if mixing large quantities of plaster.
As with all decorating jobs, these tools should be accompanied by the correct PPE for the job, eye, and hand protection as a minimum, with suitable coverings for flooring or carpets.
The Plastering Steps
The process of plastering breaks down into the following steps, which should each be carefully studied; I will briefly outline these parts of the process, but further research using the helpful online guides is essential. The steps are as follows –
- Preparation – after laying protective coverings on the floors, start preparing the walls by washing and scrubbing them thoroughly. Remove any loose particles and tape up plasterboard joints. Apply the PVA glue, which is crucial for holding the plaster to the wall.
- Mixing – Using clean buckets, mix the plaster, following the instructions carefully. If using a power mixer, use a lower speed so as not to overwork the mix.
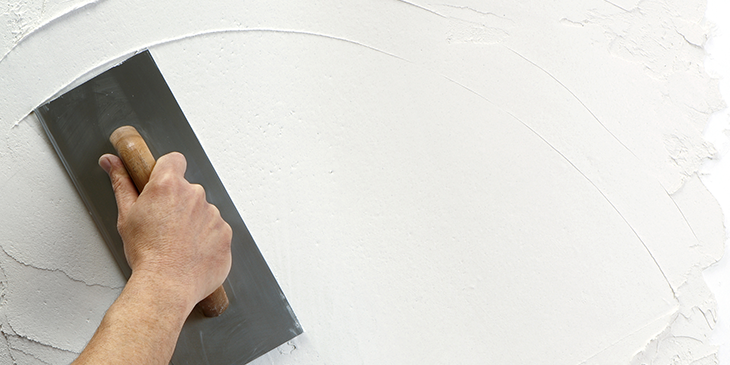
- Application – Move the wet plaster to the hawk with the bucket trowel, apply with smooth, even strokes starting with a small amount and increasing as your confidence improves. Allow the first coat to dry for around 20 minutes before applying the second coat.
- Finishing – after using a spray bottle to dampen any part you’re unhappy with, use an angled clean edge to smooth away any excess. Use a damp paintbrush to tidy up corners and edges.
These four main steps have more complicated instructions, which I have simplified for this short article again; look to the online how-to guides for fuller explanations.
I hope I have whetted your appetite for the task of plastering; I’m sure with the right motivation and the correct equipment, you’re on the road to saving yourself hundreds of pounds and learning a valuable new skill in the bargain.