It’s obvious. The most tedious part of a painting project is prepping walls. It’s tempting to skip the tedious steps involved in paint preparation, as we all want to move on to the exciting part of the paint color. A proper preparation job is essential for a beautiful final result. These are crucial steps that you should not skip. These guidelines will help you prepare your walls for painting.
1. Move the Furniture. Protect fixtures
Assuming that you will drop paint (or at the very least, paint splatters in areas of the room that are and not the walls) is a good rule of thumb. Do not take chances. If possible, move your furniture from the room. If that is not possible, move your furniture to the middle of the room and cover it with plastic drop cloths.
It is easy to paint outlet covers over, but that’s not a good look. Make sure you remove all cover plates from light switches and outlets. Plastic can be used to cover ceiling fans and pendant lamps.
Don’t forget about doorknobs and other hardware. You can cover them with painter’s tape or plastic bags secured with painter’s tape.
2. Repair Imperfections
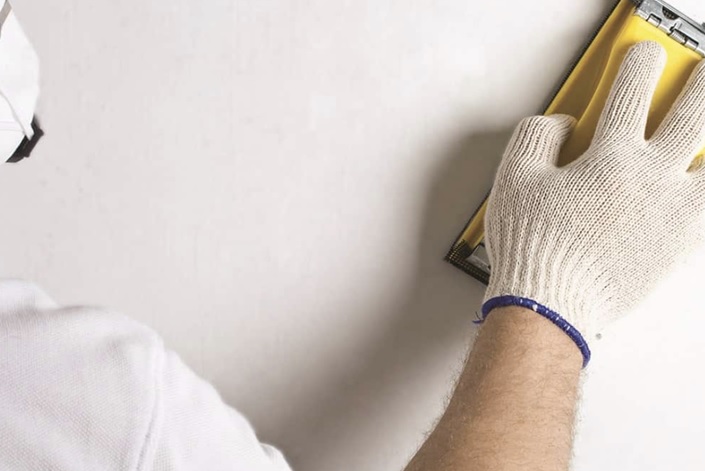
Take a close look at the wall to see if there are any imperfections. You can take care of any imperfections now to ensure that your paint flows smoothly and evenly. This will give you a polished finish.
You can scrape off flaking paint with a putty spoon.
Use a putty knife to apply a spackling product. Let it dry. After drying, smoothen the surface. Prime the area.
Use a patch kit to fix a larger hole. These imperfections should be addressed immediately. They won’t be covered up by new paint; they will be highlighted.
3. Get rid of the dust!
You can make visible flaws in your final product by painting over dirty walls. Start by vacuuming the baseboards, moldings, and walls. Use a damp towel to dust the entire wall. Work in a circular motion. You may need soapy water to clean up food splatters if you are painting your kitchen.
4. Tape
After your walls have dried completely, wrap painter’s tape around the trim. Use longer pieces of tape. Paint can leak through gaps created by shorter pieces. Use a sharp knife to press the tape onto your trim.
5. Prime
This is a step that will make your final product look the best it can. Primer hides imperfections and allows your paint to shine. With a 2-inch brush, apply primer to the trim and corners of your room. Next, apply primer to your walls using a roller.
This post was written by a professional at St.Pete Home Painters. https://stpetersburgflpainters.com/ is a locally-owned and operated painting company. For 15 years, we have been serving St.Pete residents with painters and contractors who are ex-firefighters who specialize in residential, commercial exterior, and interior painting. We work closely with customers to ensure their satisfaction when it comes to pricing and scheduling. Contact us today for your free quote!